Perks
Overview
Perks are a system to create in-game purchases that allow players to support game creators and enable exclusive content. To become eligible to use Perks in game, creators need to meet certain minimum requirements and apply to join the Perks Program.
Types of Perks
Perks have separate types based on when and how often a player can purchase them.
Permanent
Permanent Perks can only be purchased once by each player.
Limited-Time
Limited Time Perks can be purchased only once during their duration, but can then be purchased again after they expire.
Repeatable
Repeatable Perks can be purchased any number of times by players.
For more information about Perk types, see About In-Game Perks in the Core Help Center.
Creating Perks
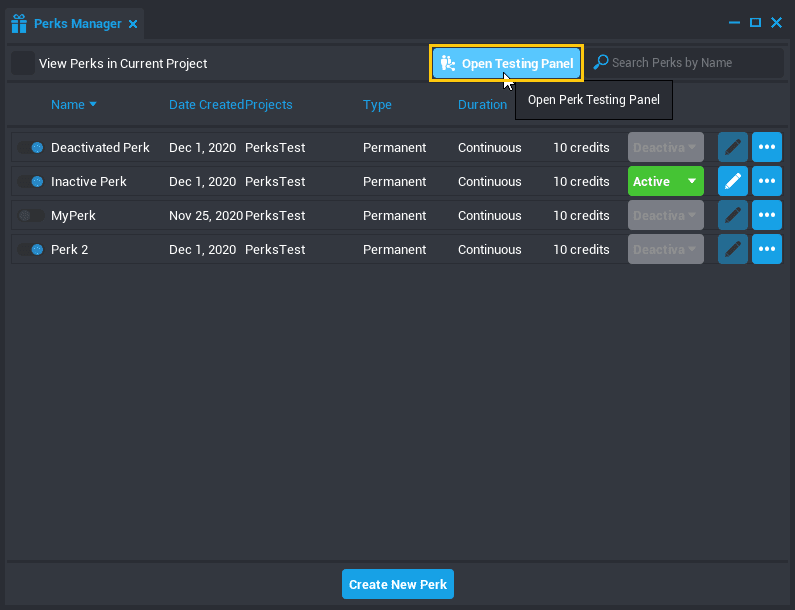
Perks are created and edited through the Perks Manager window. They can be associated with just one project, or many projects by the same creator.
Create a Perk
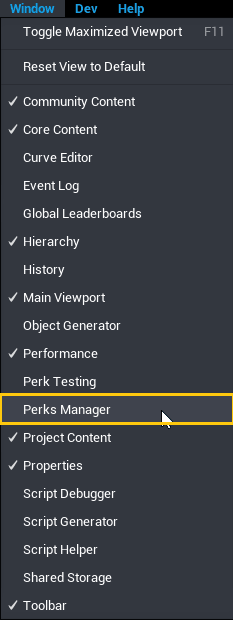
- Open the Perks Manager by clicking Windows in the top menu bar and selecting Perks Manager.
- Click the Create New Perk button in the bottom of the window.
- Give the perk a name and select the type.
- Change the Duration field only if it is a Limited-Time Perk, to match how long it should last.
- Change the Price to the number of Core Credits the perk should cost.
- Keep the Add to Current Project option turned on to use the Perk.
Info
There is no limit to how many projects you can add a Perk to.
Your new Perk will now appear in the My Perks section of the Project Content window.
Add a Perk Reference
To change a player's experience based on the Perks they have, you will need to reference that Perk in a script.
- Create or select a script in the Hierarchy, and open the Properties window.
- From Project Content, open the My Perks section and find your Perk.
- Click and drag your Perk from Project Content onto the Add Custom Property

Scripting with Perks
You can use the player:HasPerk(perkReference) function to find out if a player has a Perk, and player:GetPerkCount() to get the total number of repeatable Perks a player has purchased.
To learn more about the functions and events associated with perks, see the Player type in the Core API Reference.
Testing Perks
Creators can test your perks in a local project to make sure that they are working as intended, using the Perks Testing window.
Enable Perks for Testing
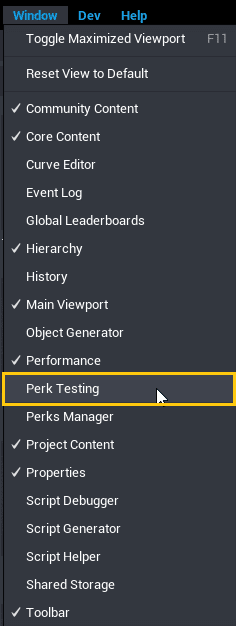
- Open the Perks Manager window by clicking Window in the top menu bar, and select Perk Testing
- Enable the Perk for Player 1 if you want to test when just one player has the Perk.
- Enable the Perk for Player 2+ to test when all players
Info
You can also open the Perk Testing window directly from the Window menu.
Test in Multiplayer Preview
Once you have enable perks in the testing menu, start a multiplayer preview. If you granted a perk to Player 1, you should see it on Bot1 in the first preview window, and any in-game benefits that you have granted based on whether a player has unlocked those perks should be present in that window. For Player 2+, all of the Multiplayer Preview instances should have players who own that perk, including ones that are added in after the preview starts.
Adding a Perks Purchase Button
Perks can only be purchased using a UI Perk Purchase Button, and use a standardized dialog to confirm a purchase.
Add a Perk Purchase Button to a Project
- In the Game Objects section of Core Content, open the Perks Tools category.
- Find the UI Perk Purchase Button object and drag it into your Hierarchy.
- Open the My Perks section of Project Content to find your Perk.
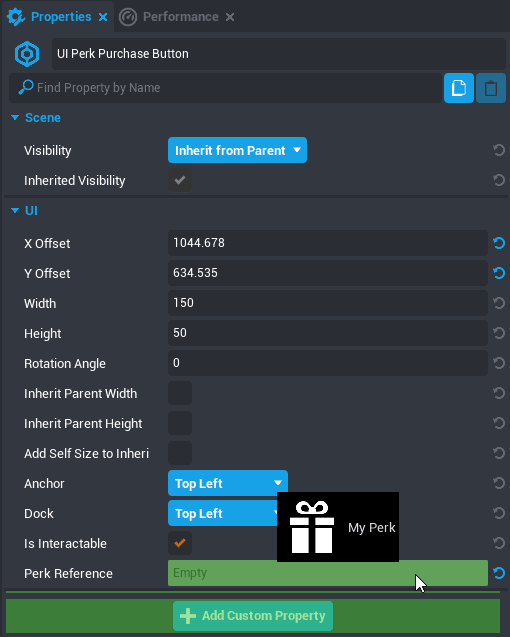
- With the UI Perk Purchase Button selected, open the Properties window.
- Drag the perk you want associated with the button from My Perks to the Perk Reference property of the Perk Purchase Button.
Warning
Adding a Perk Reference as a Custom Property will NOT enable the button to charge for the Perk. It must be added to the Perk Reference field in the UI Perk Purchase Button's properties.
Activating Perks
Perks exist in several different states that allow you to control whether players can activate them. Perks need to be associated with a published game before they can be used, which means there are multiple steps to making a perk purchasable by players.
Inactive Perks
Warning
Perks must be published as inactive before they are activated.
When perks are created they start out as inactive. Perks need to be associated with a project before they are activated, and to do that they must be published in an inactive state.
Steps to Activating a Perk
- Create a Perk through the Perks Manager.
- Make sure the Perk has Add to Current Project selected.
- Publish the game.
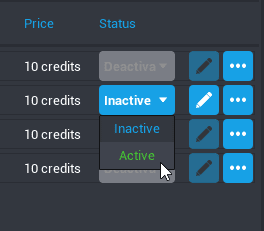
- Open the Perks Manager again, and select Active from the drop down box in the Status column.
Warning
Once a Perk is activated, it can not be instantly deactivated, and is subject to the Terms of Service agreements related to Perks.
Editing and Suspending Perks
Perks cannot be instantly deactivated while players have active perks. Instead, they must be moved to a Disabled state, where they remain active for players who have already purchased them, but are no longer purchasable by new players.
To make changes to an active Perk, you must first suspend it.
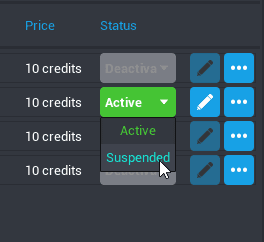
Suspend an Active Perk
- In the Perks Manager find your perk.
- In the Status column, select Suspended.
Deactivate a Perk
If a suspended perk has no active users associated with it, it can be safely deactivated.
- In the Perks Manager find your perk.
- In the Status column, select Deactivated.
Disabled and Banned Perks
Perks can become disabled or banned if they cause significant support tickets or appear to violate the Terms of Service.
If a perk is disabled or banned, you can submit a request in the Core Help Center to fix it.
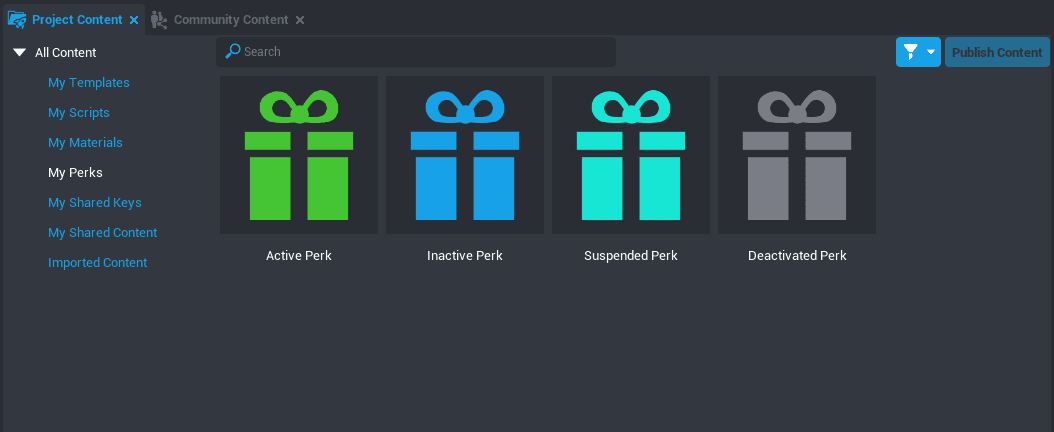
Perk States
The Perks ![]() color in the My Perks section of Project Content will indicate the current status of the Perk in your project.
color in the My Perks section of Project Content will indicate the current status of the Perk in your project.
Learn More
The Perks Program | Core API Reference | Joining the Perks Program | About In-Game Perks | Guidelines for Creating Perks