Create an RPG in Core
Create a Framework Game
To get started, use the CREATE menu to make a new project
Open the NEW PROJECT Menu

- With Core open, click the CREATE tab in the top menu bar.
- Click the NEW PROJECT tab at the top of the CREATE menu.
Select the Dungeon Crawler Framework
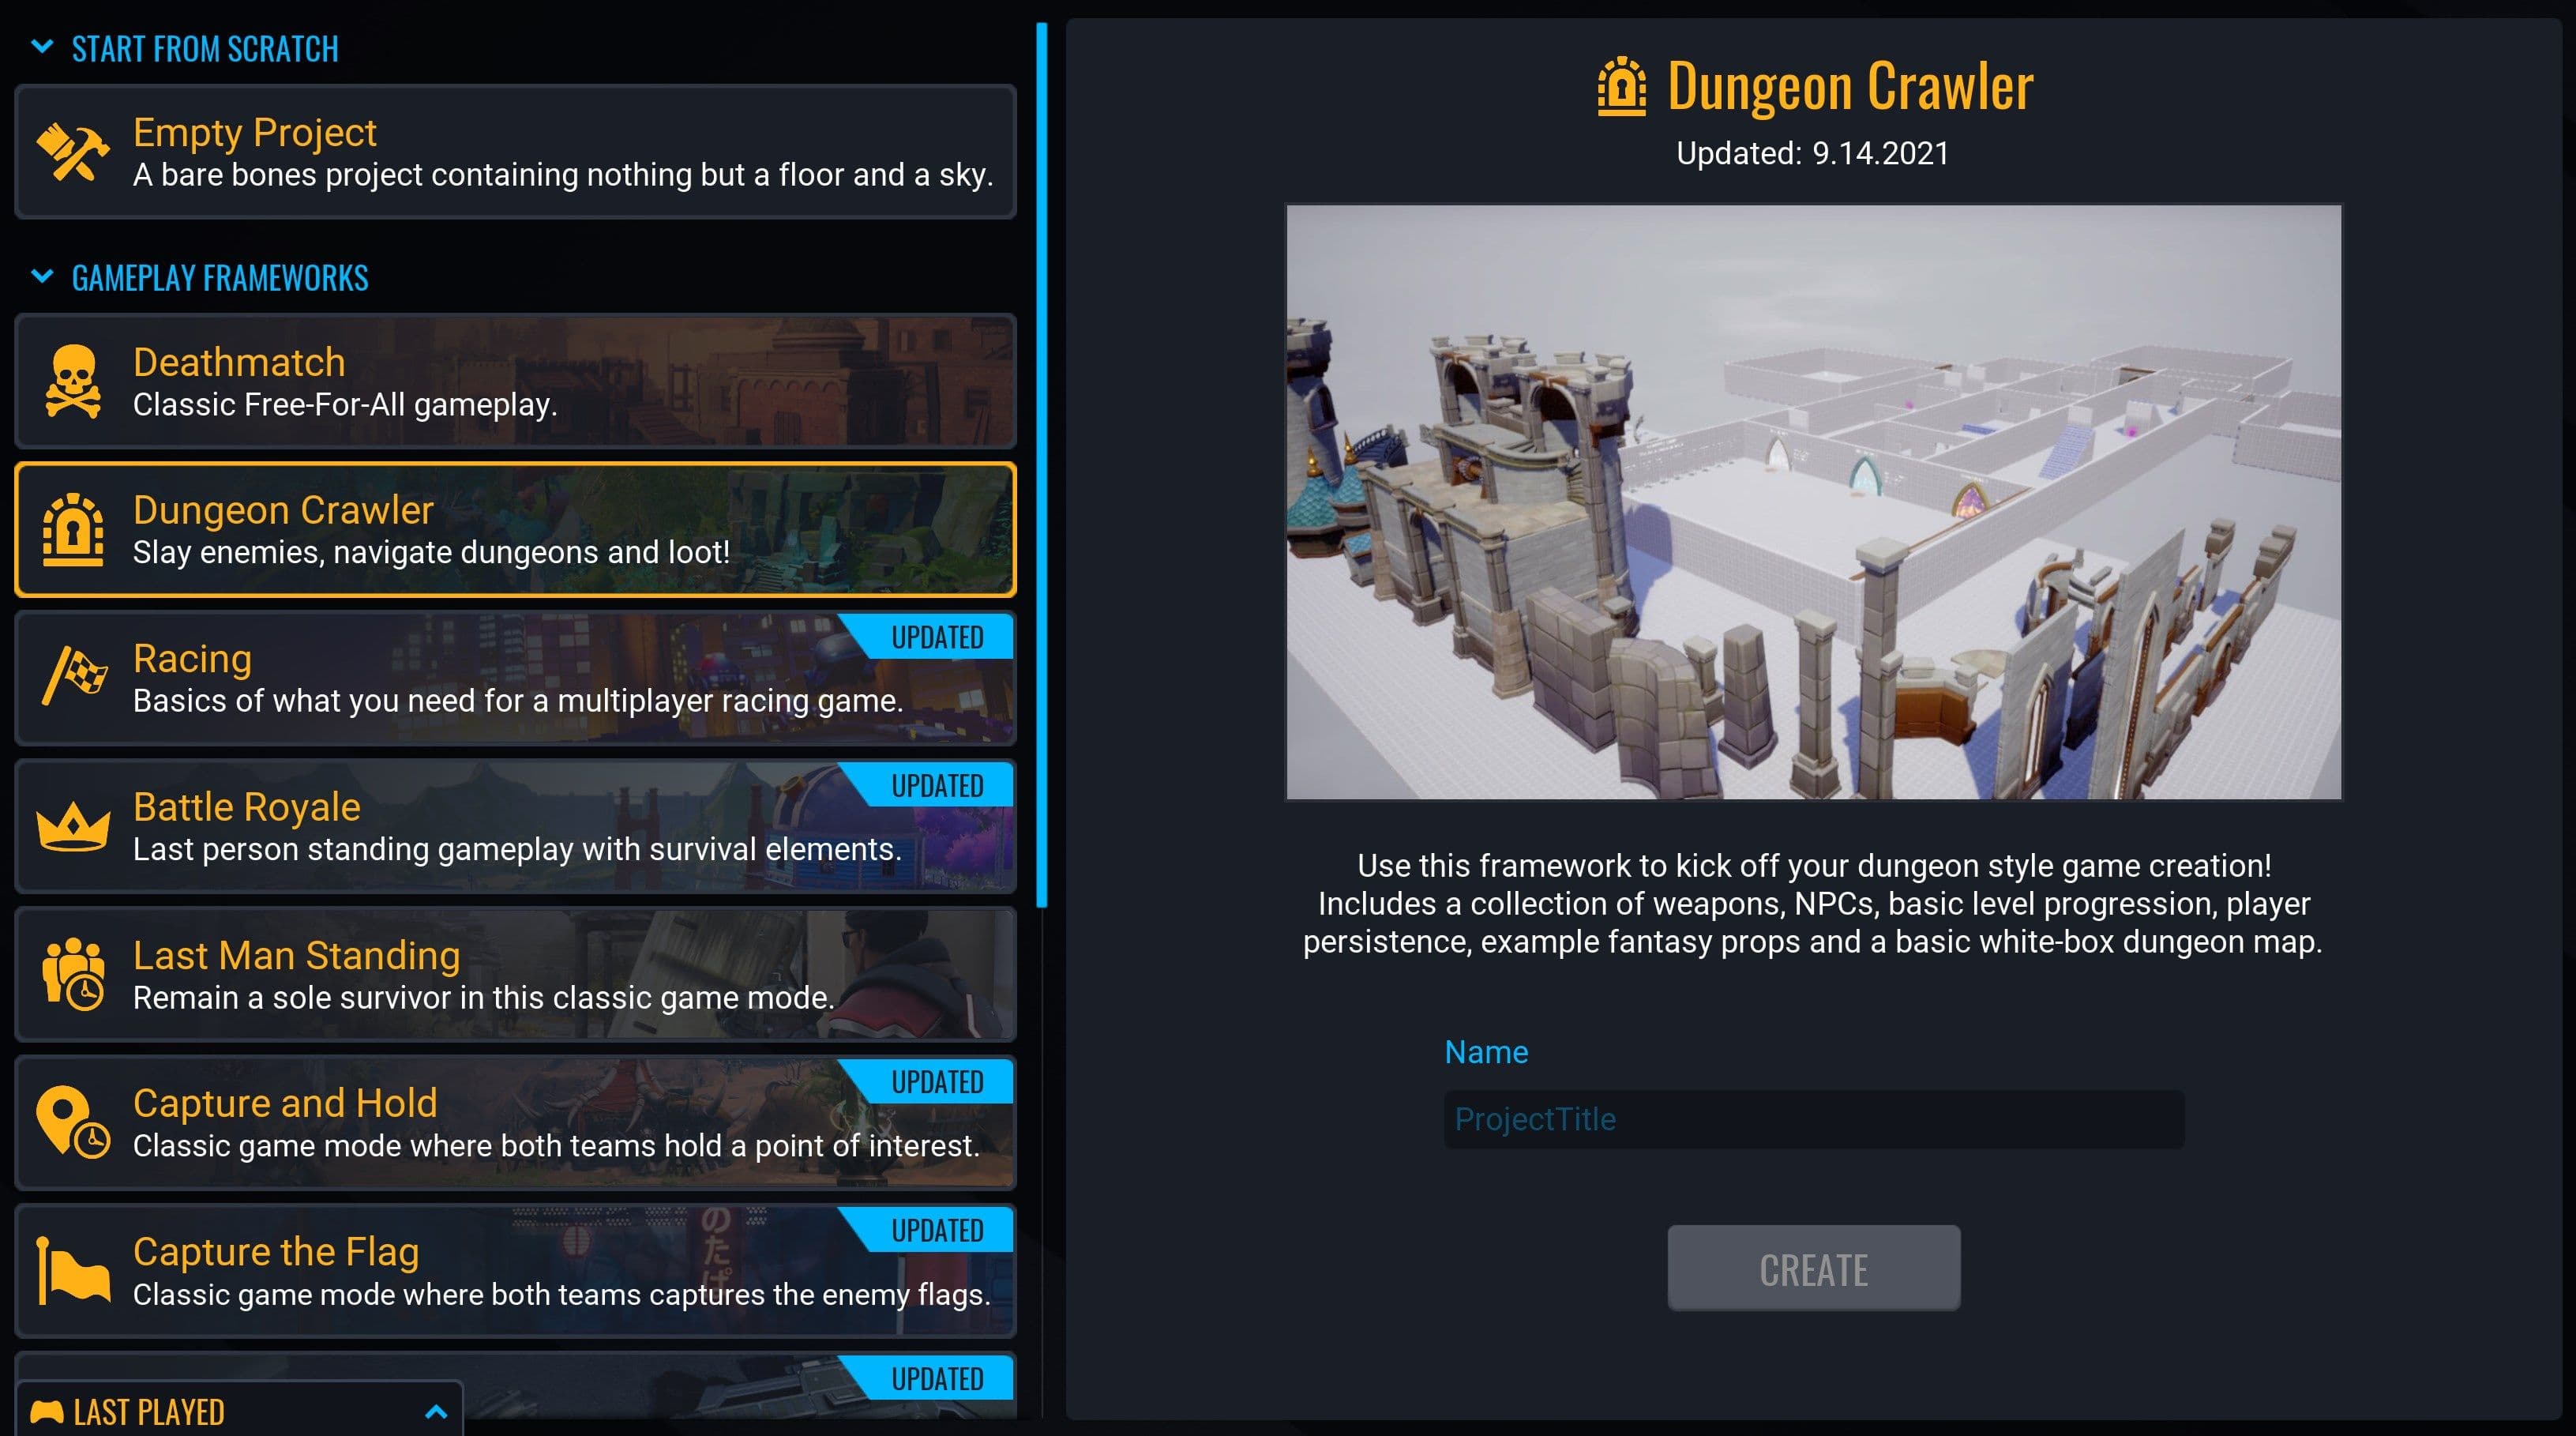
- In the GAMEPLAY FRAMEWORKS section, select Dungeon Crawler.
- In the right side panel, name your project.
- Click CREATE.
Building the Floor and Walls
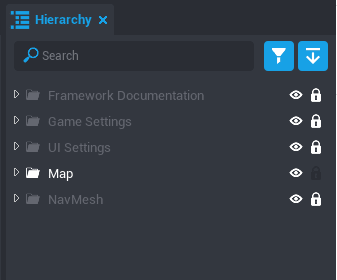
Lock the Project
This framework contains many different scripts, and essential elements that you do not want to change accidentally. To prevent this, use the Lock ![]() .
.
- In the Hierarchy, press the Collapse All button the close all the project folders.
- Click the Lock
 icon next to each folder except for Map.
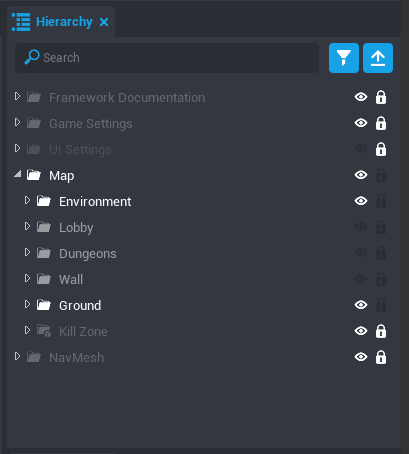
Hide Elements to Focus on One Area
Next, we will hide elements of the project to work on one part at a time. This has two benefits:
- It is easier to focus on one part of the map at a time.
-
You can click to select objects easily without grabbing parts that you do not want to change.
-
Click the Visible
 next to UI Settings to hide all the UI elements from the screen.
 - Click the arrow next to Map to open the Map folder.
- Click next to the Lobby, Dungeons, and Wall folders so that you can only see the gray floor tiles.
- Click next to the Kill Zone to prevent any changes to this element as well.
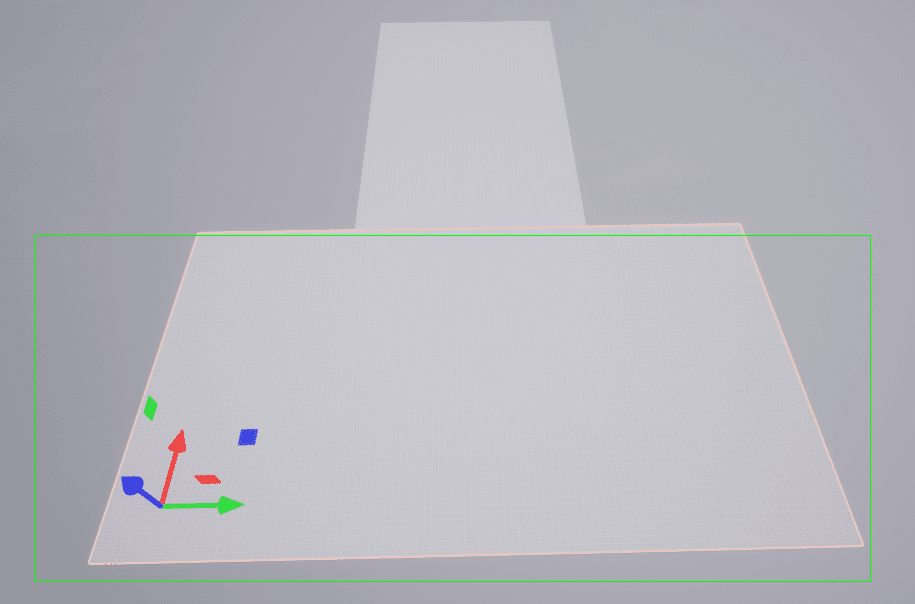
Add Materials to the Ground
With the other elements hidden, you can now left click and drag to select multiple objects in the scene.
Hint
You can hold Ctrl and click to unselect objects, and hold Shift and click to select more objects.
- Make sure Object Select Mode
 is enabled by clicking the
  icon in the Top Toolbar and clicking Object, or pressing C.
 - Press the Left Mouse Button and drag it across the floor tiles that you want to select.
- Open the Materials folder in Core Content and select the Material to use for the ground section.
- Drag that Material into the selected floor tiles, or into the Properties window, in the Floor Material property.
Info
Whitebox Floor tiles have two sides that can have different materials. You can add the same material to both sides, or ignore the one you cannot see.
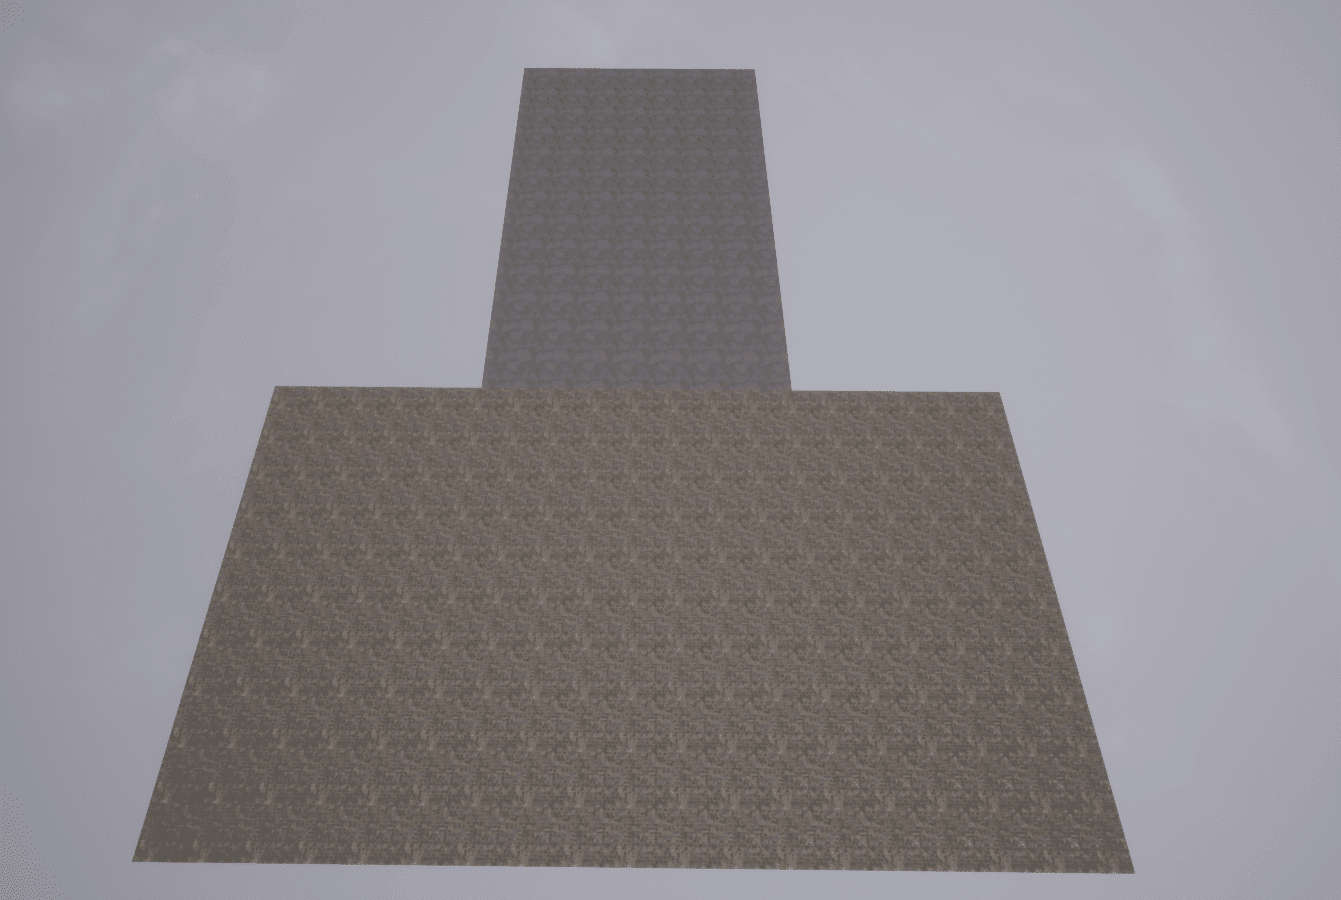
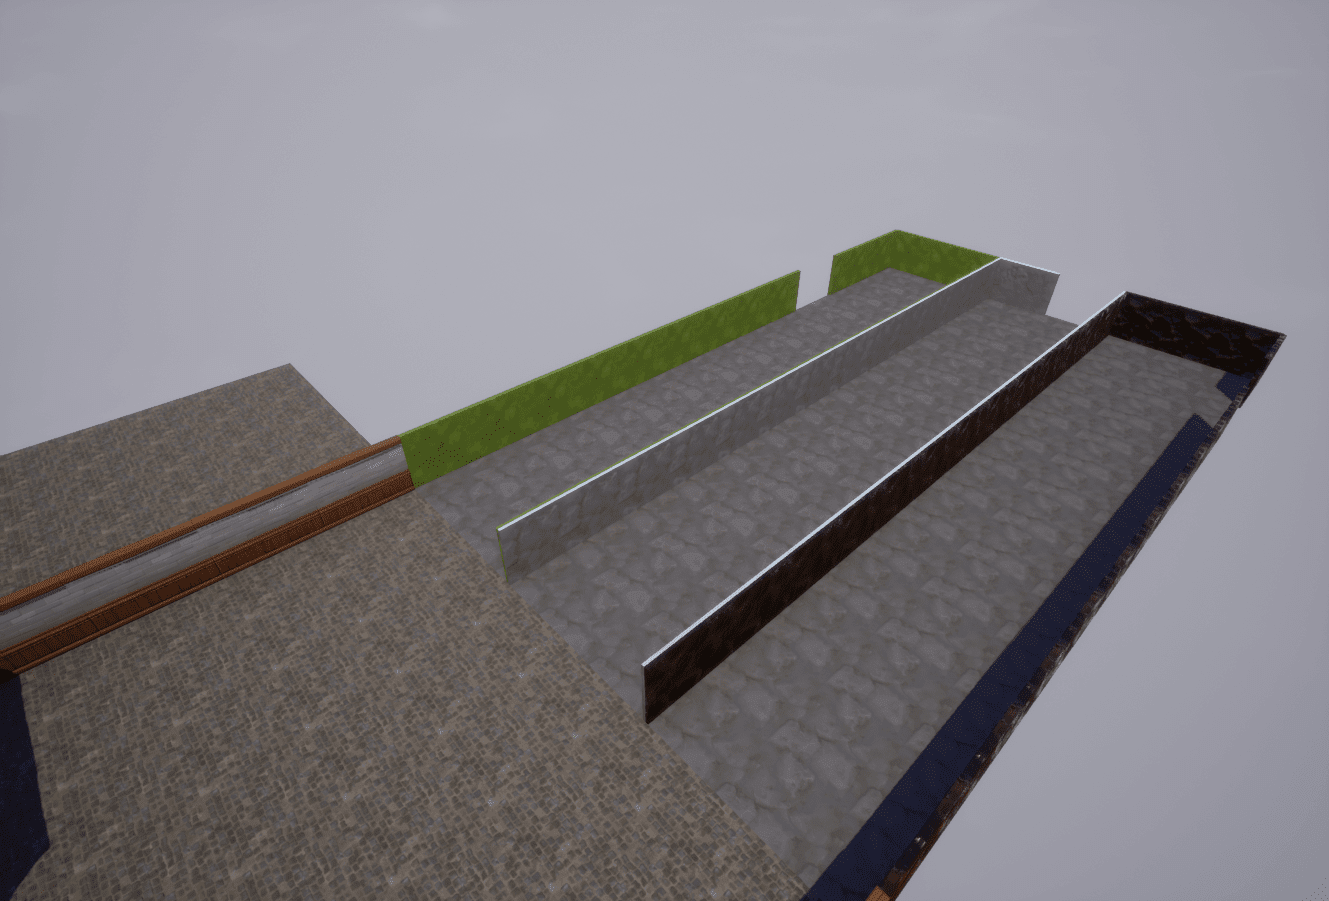
In this image, the Lobby tiles have the Bricks Cobblestone Floor 01 material, and the Dungeon tiles have the Stone Basic material.
Change the Walls
The next step is to change the outer walls. You can add materials to them the same way you did the ground, or try using different meshes, like the walls of the Castle tileset.
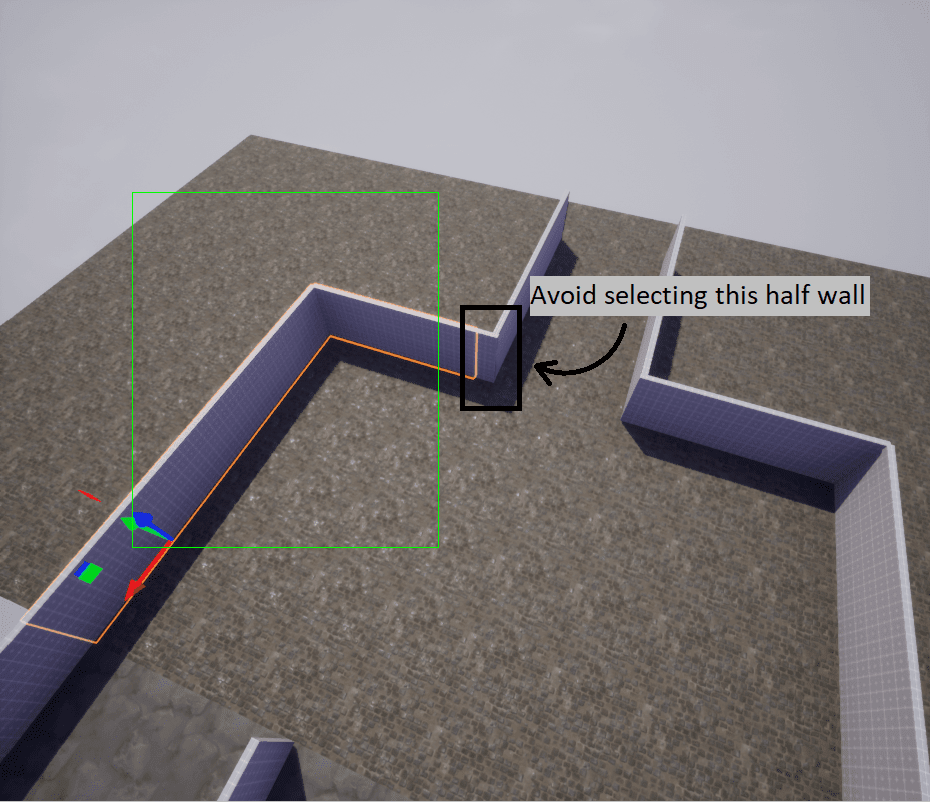
To change the object that is used by the walls, select several walls that are currently using the same mesh: Whitebox Wall 01. You will likely want to choose a different piece for half walls, so avoid the corner walls toward the Corehaven portal.
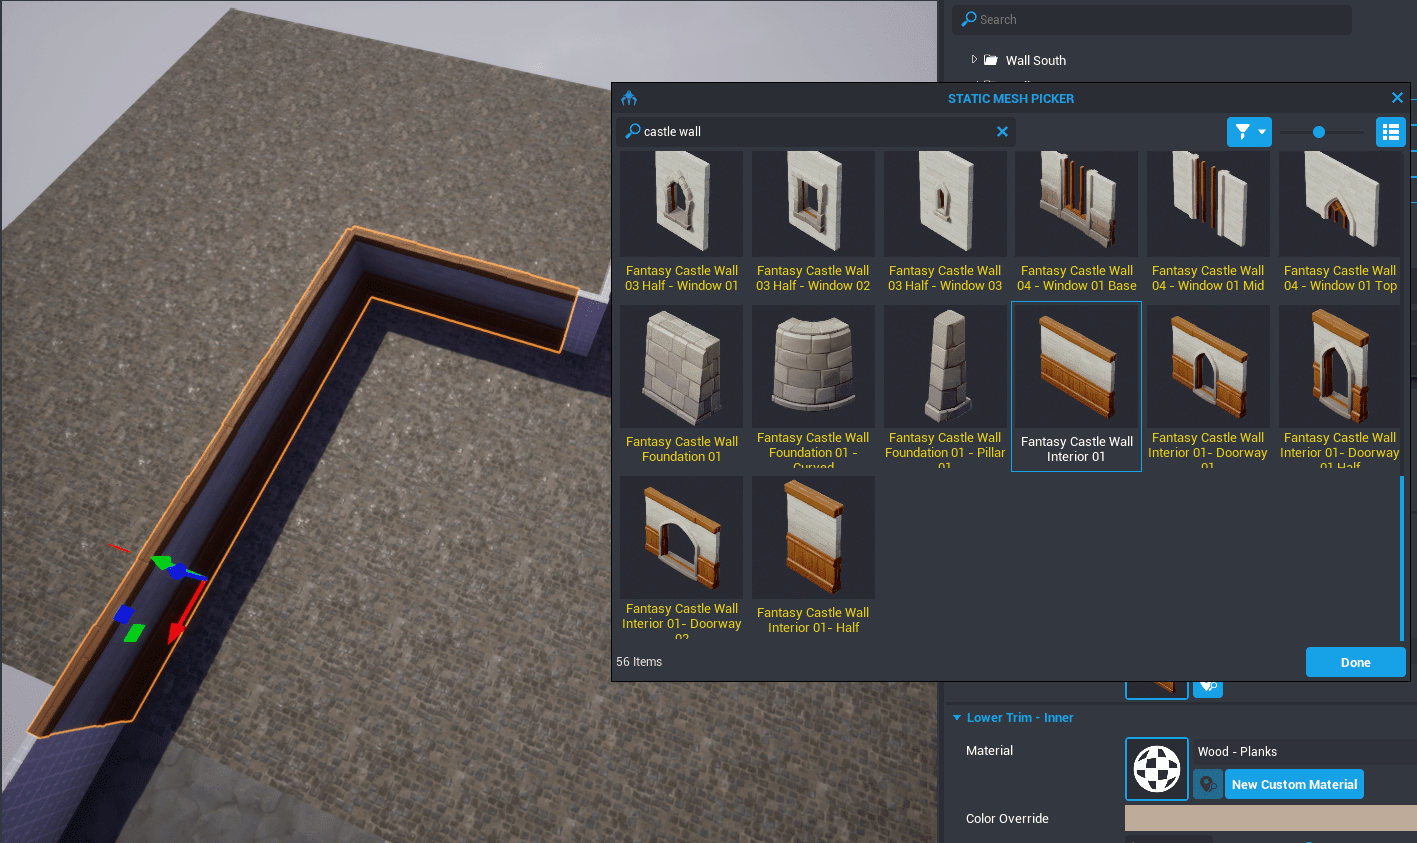
- With the walls selected, open the Properties window and find the Mesh property.
- Double click the image of the mesh (the whitebox wall) to open the STATIC MESH PICKER menu.
- Search for
castle wallto find a wall to use, like Fantasy Castle Wall Interior 01. - When you select the new mesh, it should immediately apply to the selected objects.
Info
Changing the mesh will not change the name of the object, so they will still have the name "Whitebox ..." unless you change it with F2
Half Walls
Half walls will be best substituted by other half wall sized meshes. Select the two corner half walls to apply a different mesh to them.
Finish the Exterior Walls
Using materials or mesh substitution, finishing designing the exterior wall for the game.
Hint
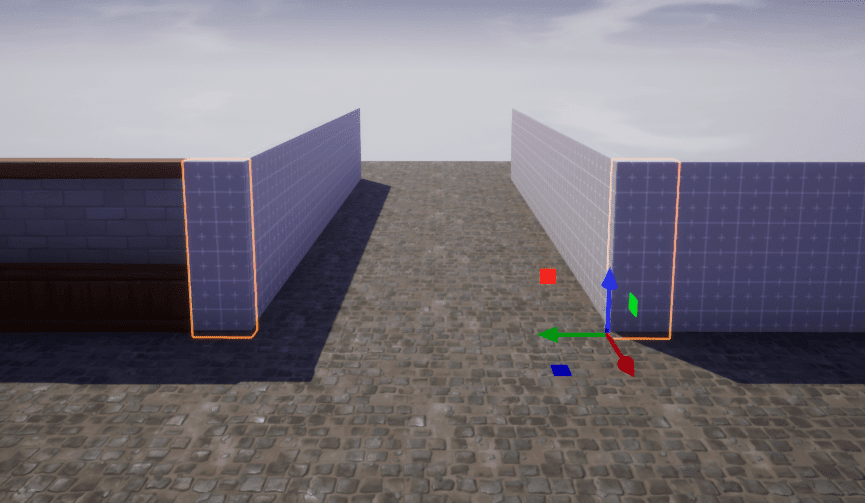
Whitebox walls have two different sides for materials, so they are very useful when making two different areas right next to each other.
Building the Dungeons
Make the First Dungeon Visible
- Lock the Wall folder so that we can make changes without selecting the outer walls.
- Click the icon next to Dungeons to show all the Dungeon elements.
- Click the arrow next to Dungeons to see the folders for each of the three dungeons.
- Click the next to Dungeon 2 and Dungeon 3 so that only the first Dungeon is visible.
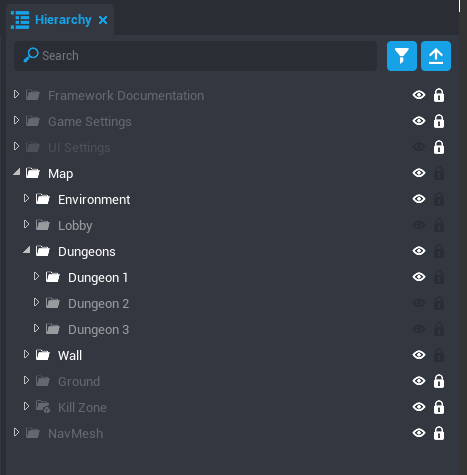
Reveal the NavMesh
Enemy AI's do not follow the same collision rules as players. Instead, they have a NavMesh which defines the areas where they can and cannot walk. To build a dungeon where the enemies cannot go through objects, we need to build around the NavMesh.
- Select the NavMesh folder in the Hierarchy and click the Lock to enable changes.
- In the Properties window, change the Visibility property to Force On.
Designing around the NavMesh
With the NavMesh visible, you can see all of the walkable areas have plains indicated that the enemies can walk on them too, and where the walls and obstacles are, there is no NavMesh. To use this in your design, make sure there is no NavMesh under objects that enemies should not be able to walk through.
Replace the Whitebox Walls
You can use the same method used for the outer walls to simply change the mesh in place, and then reposition and resize the new object as necessary. You can also just add new objects from Core Content, but you will need to make sure that these get moved into the correct folder.
- Select a new object from Core Content to replace one of the whitebox walls.
- Drag that object into the scene, on top of the wall.
- Resize, rotate, and reposition it to fit within the space not covered by NavMesh.
- Drag the new object into the Walls folder of Dungeon1.
- Select the old wall and press Del.
Finish the Dungeons
Repeat this process to replace all the remaining whitebox pieces in Dungeon 1. Once you have finished, lock Dungeon 1 and make Dungeon 2 visible, and finally move on to Dungeon 3.
Customizing the Shop
Create a New Weapon
Each item in the shop is part of a Equipment Display Purchase Pad, which combines the visual display of the item, its price, and level requirements, as well as the script that handles taking the player's gold and given them a copy of the right weapon.
You can change any of the Equipment Display Purchase Pad to sell different items, or just change the prices and level requirements by select the object, and changing the custom properties.
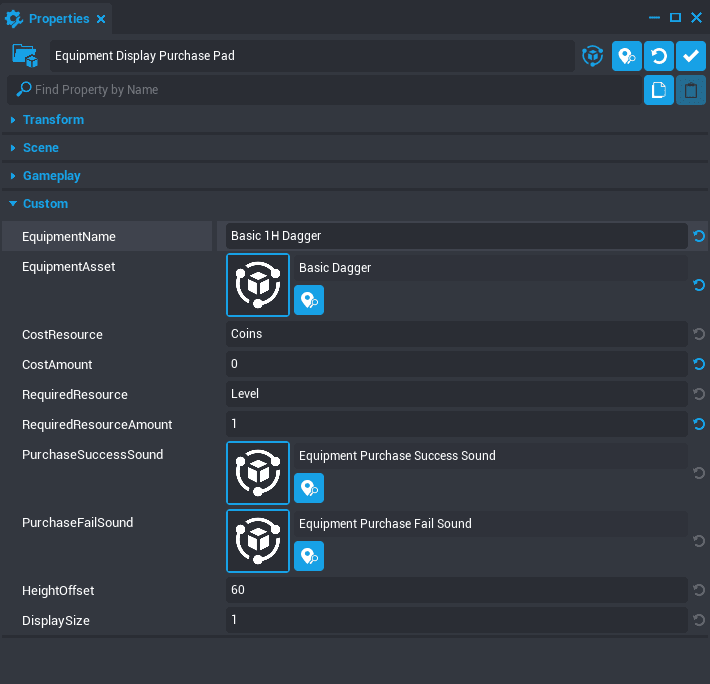
You can create new items to purchase by finding the Equipment Display Purchase Pad template in the Project Content window, and dragging it into the Main Viewport.
Move the Shop Items
To move the items in the shop, make sure Group Select Mode is enabled, so that you grab the template, including the text, triggers, and display.
Click the ![]() icon in the Top Toolbar and select Group, or press C to switch between the two modes.
icon in the Top Toolbar and select Group, or press C to switch between the two modes.
Now, you can click and move the shop items to fit in the environment that you build for them.
Add Community Content
You can use the many fantasy props to build out a shop, but there are even more props available in Community Content.
- Use the search in the Community Content window to find available templates.
- Click the Import button to add it to your project.
- Open the Core Content window and find the Imported Content section in the navigation.
- Double click the Bundle
 icon to open it.
 - Drag the green Template icon into the Main Viewport to add it into the scene.
Example: The Blacksmith
A blacksmith would be one way you could create a more immersive shop that fits in the world. Check out these community content items to build it.
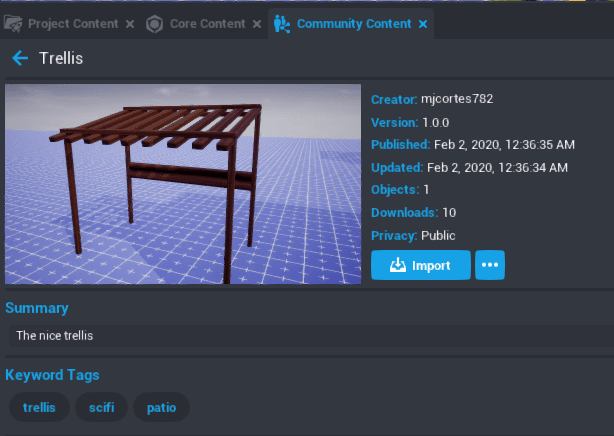
Trellis by mjcortes782
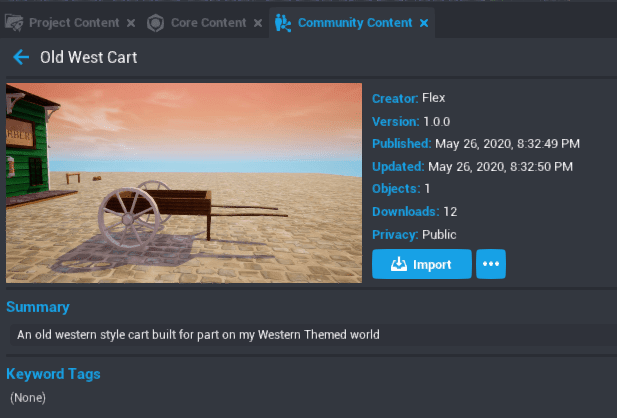
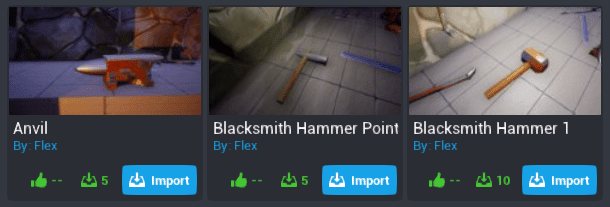
Cart, Anvil, Blacksmith Hammer Point, and Blacksmith Hammer 1 by Flex
Finishing Up
Create Background Mountains
To finish the project, we'll add some terrain around the dungeon to give it a place to be. You can customize this any number of different ways. This is just one example.
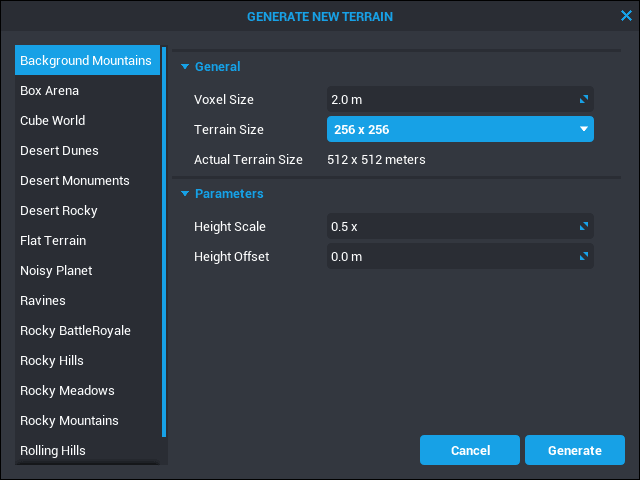
Generate New Terrain
- Click the Terrain tool and select Generate New Terrain.
- Select Background Mountains and change the Voxel Size to
2.0m.
Position and Paint the Terrain
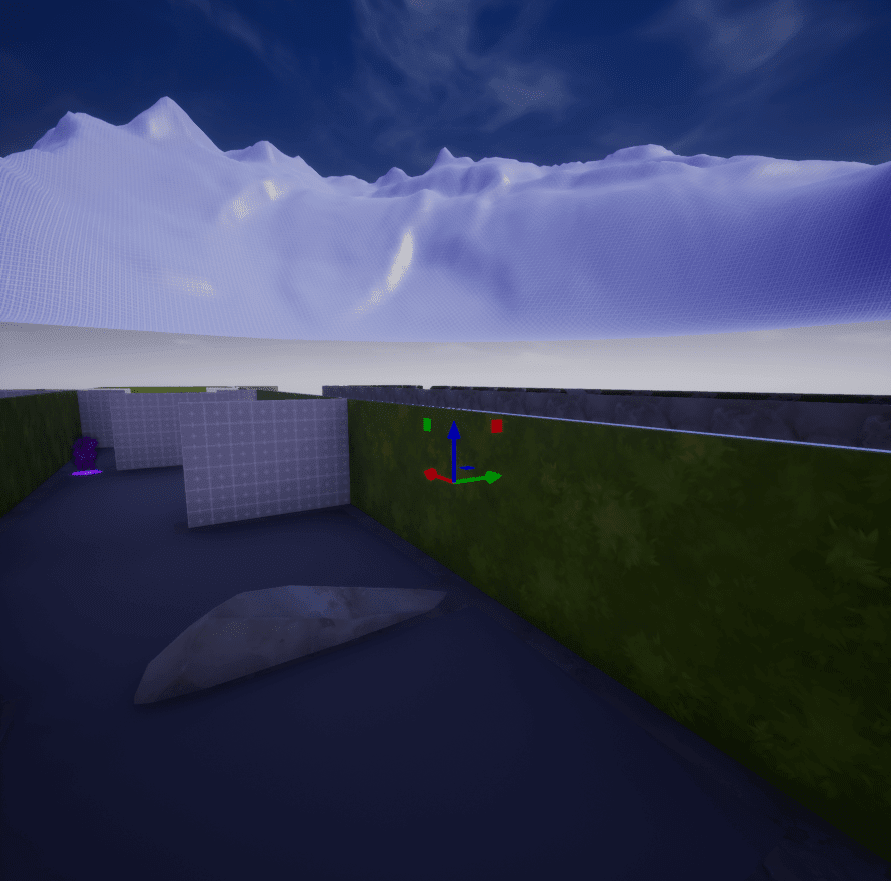
- Move the generated terrain so that it is below your dungeons and lobby.
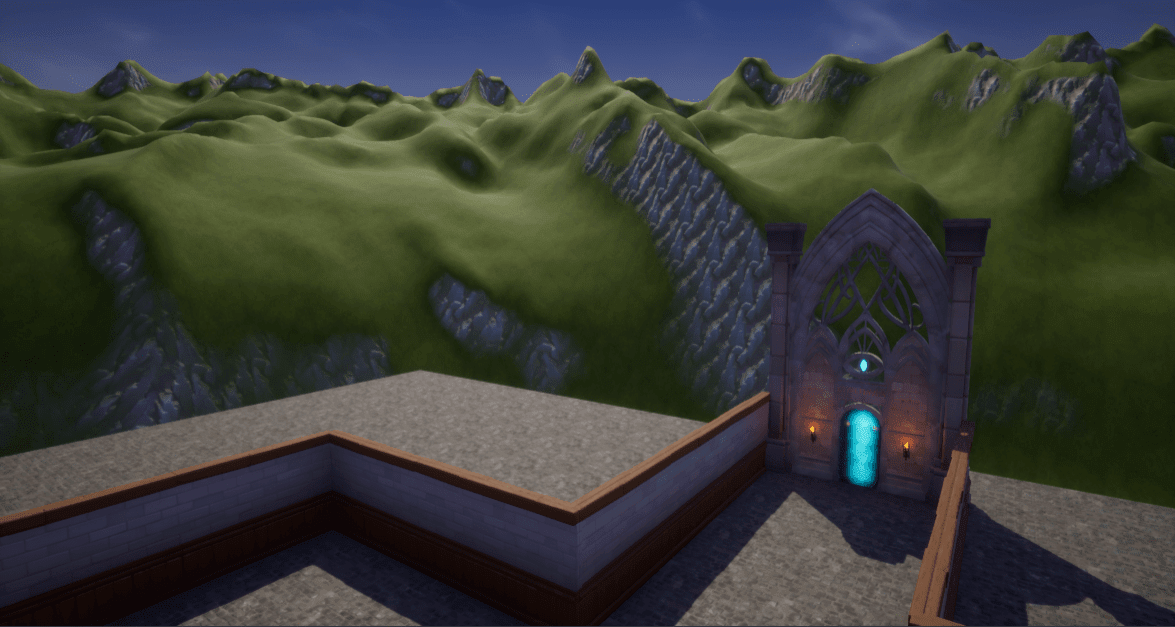
- In the Properties menu, click the Paint Tab and select Create new terrain material.
- This will automatically give the terrain the grass and cliffs textures, which is perfect for this setting. You can customize this further using the other material channels. See the Environment Art tutorial to learn more about how to do this.
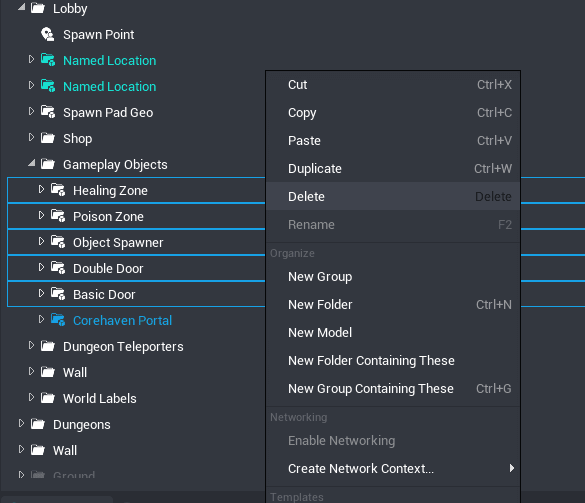
Delete Unnecessary Objects
For the final step, remove all of the objects that are not part of the final game.
- Select the NavMesh folder and change its Visibility property back to Force Off.
- In the Map folder, open the Lobby folder.
- Select the Example Fantasy Props folder and press Del.
- Select the World Labels folder and press Del.
- Open the Gameplay Objects folder. Delete each folder inside EXCEPT the Corehaven Portal.
Preview in Multiplayer
Now that you have finished the steps to make the game, it is time to do more test before publishing.
- Click
 to switch the Preview Mode to Multiplayer.
 - Press
 to start the preview. This will open a separate game window for each player.
Try out your dungeons, testing enemy AI behavior, the shop items, and making sure you can't get trapped anywhere. Once you are happy with the game, you are ready to publish.
Learn More
Publishing Your Game | Dungeon Crawler Framework Reference | Environment Art Tutorial | Weapons Tutorial